


Now I know, after reading the title many of you might question me like am I serious? Did I took so much time to install one of the most popular machine learning libraries — ‘TensorFlow’ on my PC? And my answer is a perfect ‘yes’ for that! By the way, I am a windows user :)
I had recently picked up some new skills and I felt now’s the time to put my knowledge into application. So I remember it was Saturday afternoon and I grabbed my pc with adrenaline pumped up mentally ready to make my very first project using the TensorFlow library. I had planned a very simple project — based on classification using TensorFlow.
So before starting my project I installed Anaconda and Jupyter Notebook on my PC.
For those who do not know what Anaconda and Jupyter Notebook are , let me help you out :
Anaconda is an open-source distribution of Python and R which helps to simplify package management. Now in simple words, when you install a lot of packages in your environment for a project you must have a tool to manage the packages you have installed or the ones that you may install, here anaconda comes to rescue. I followed this documentation and installed the Anaconda on my PC.
 Anaconda
Jupyter Notebook is a server-client application that allows you to run your notebook documents via a web browser on a localhost server. In simple words, it’s just like any other editor that you use but this editor runs on a local server in a web browser. It supports Julia, Python, R language. I installed jupyter notebook following this documentation.
 Jupyter Notebook
You can also install Jupyter Notebook from the anaconda navigator which would be installed on your system once you install anaconda.
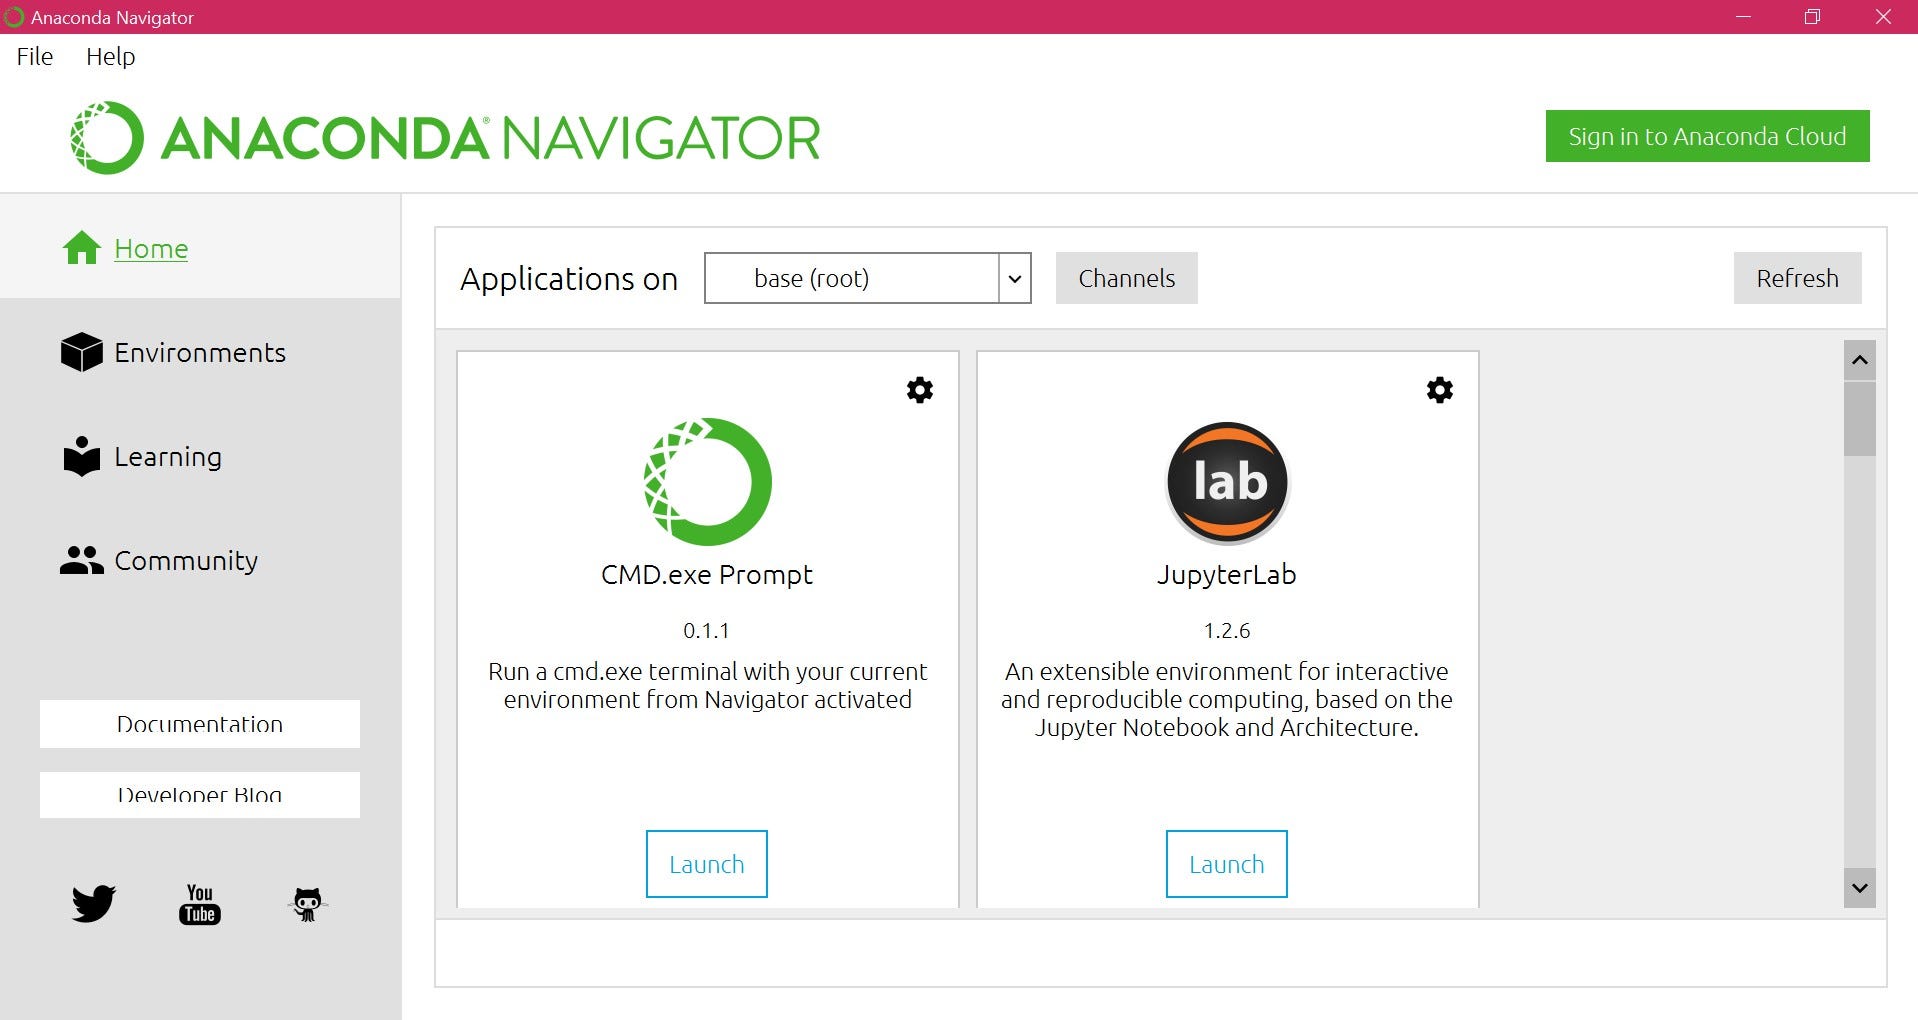 Anaconda Navigator
With the prerequisite installations done, now comes the ‘environment’. Before running TensorFlow you must create an environment. In simple words , just like living beings survive in a habitat, similarly, you must create an environment to run TensorFlow library and other packages before building your project.
You can create an environment without any code just by using the Anaconda Navigator.
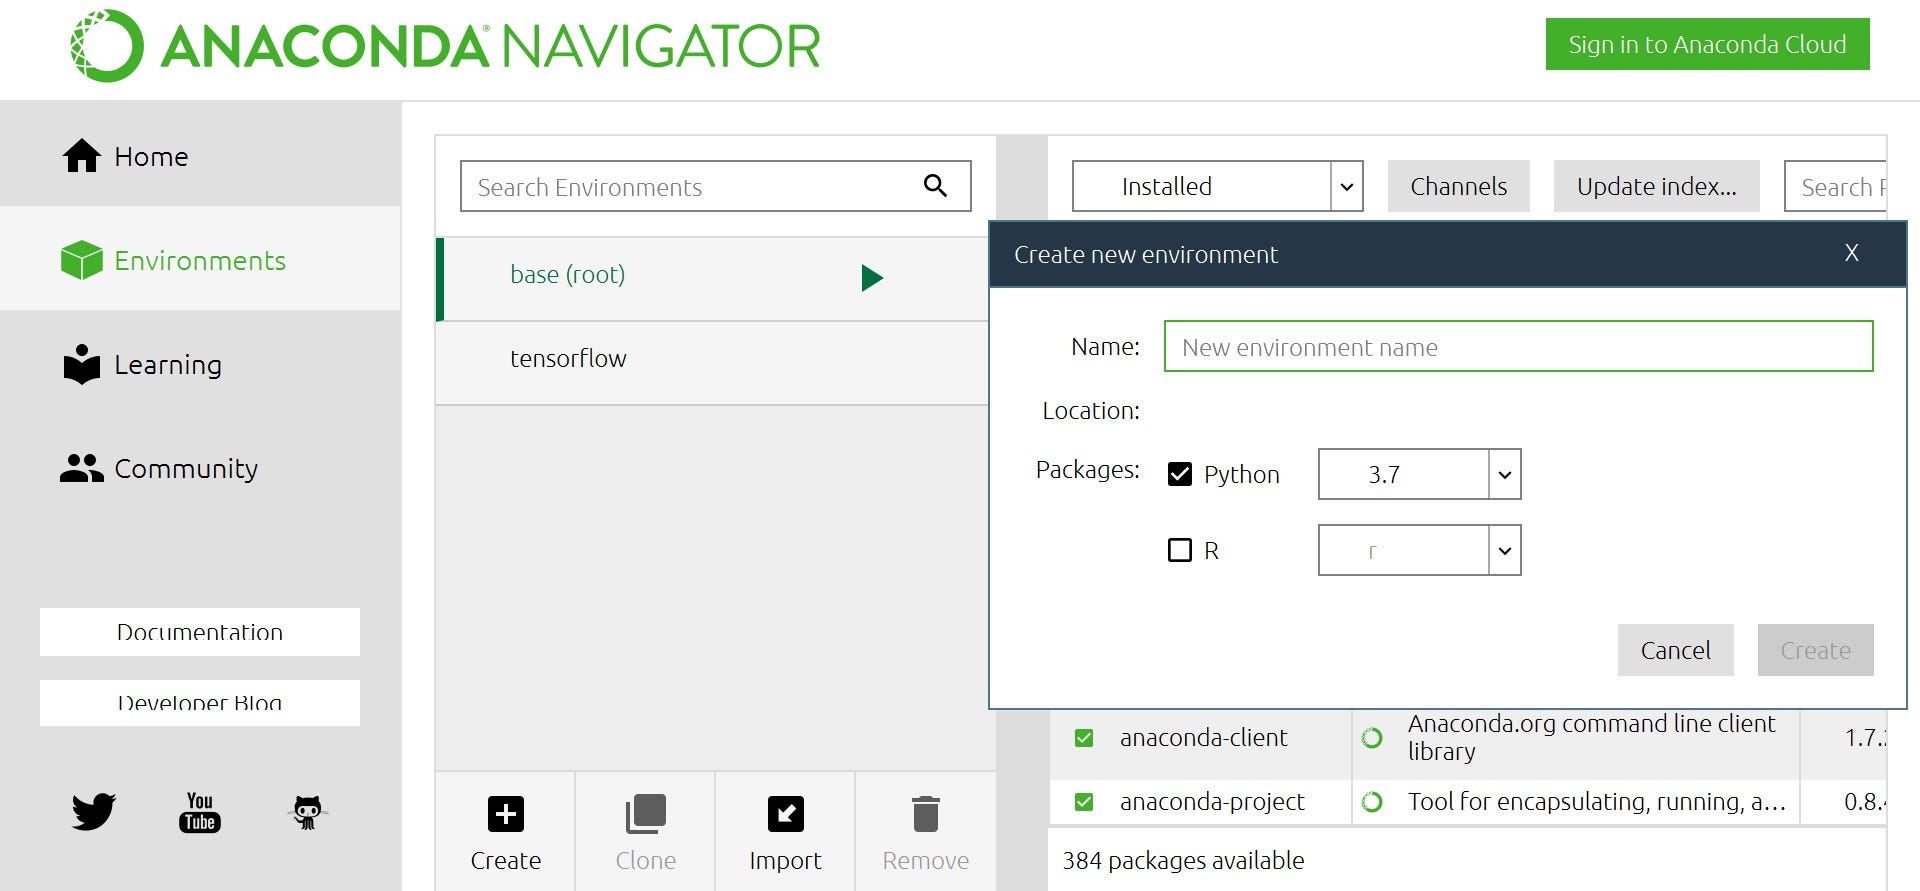 Creating environment using navigator
So you can visit the environment tab (present on the left) in the navigator and then click on ‘create’ as depicted which would create an environment for you. You can name the environment as TensorFlow.
Once the environment is created you can now install the TensorFlow package.
To install the package you can simply go to the ‘not installed’ option in the dropdown and search for a package you want to install as depicted.
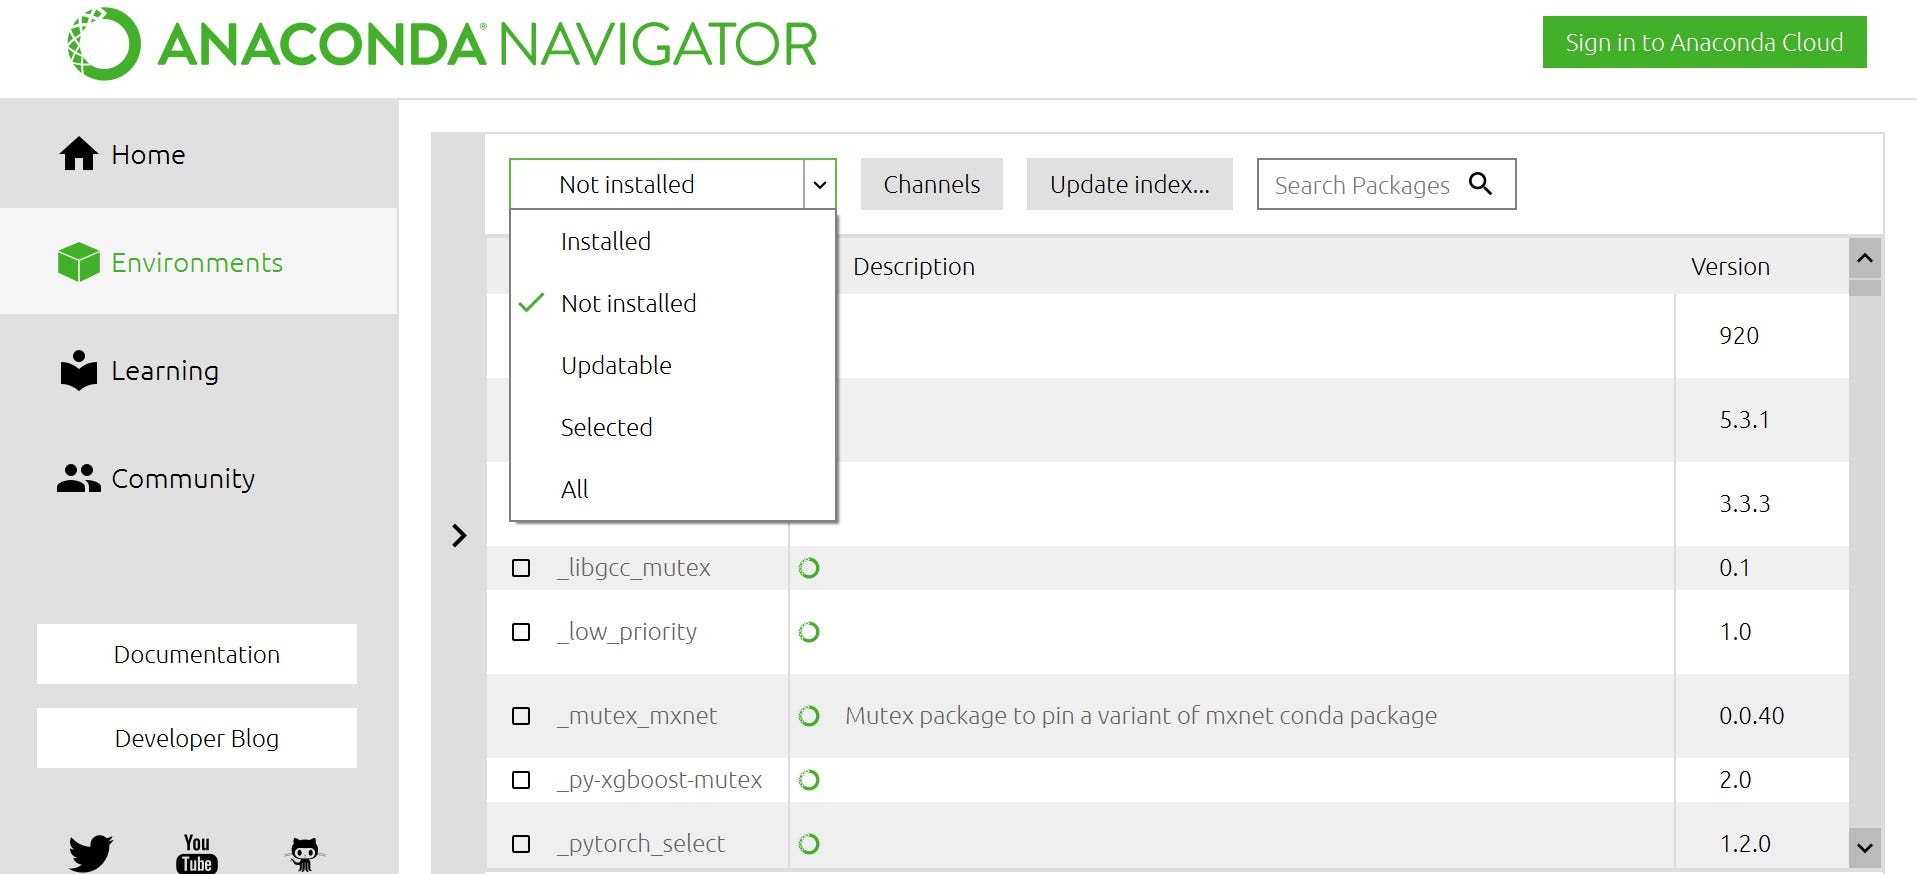 Anaconda Navigator
You are all set now!
After all the installations are done you can access the Jupyter Notebook with the libraries loaded.
An important point to note while installing TensorFlow is :
TensorFlow is a library which is able to and is used to perform heavy tasks. There are two versions of TensorFlow:
GPU version of TensorFlow(which uses the NVIDIA/AMD GPU if present on your PC)
CPU version of TensorFlow(which uses the CPU).
Here from GPU, I mean the dedicated GPU. If your PC has a GPU then apart from installing TensorFlow library you need to install the CUDA and CUDNN packages on your PC. If your PC only has a CPU then you need not install these additional packages .
To check if your PC has a GPU or not :
Simply go to ‘search box’ on your pc and type in ‘device manager’ .
You will see a dialogue box like this opened.
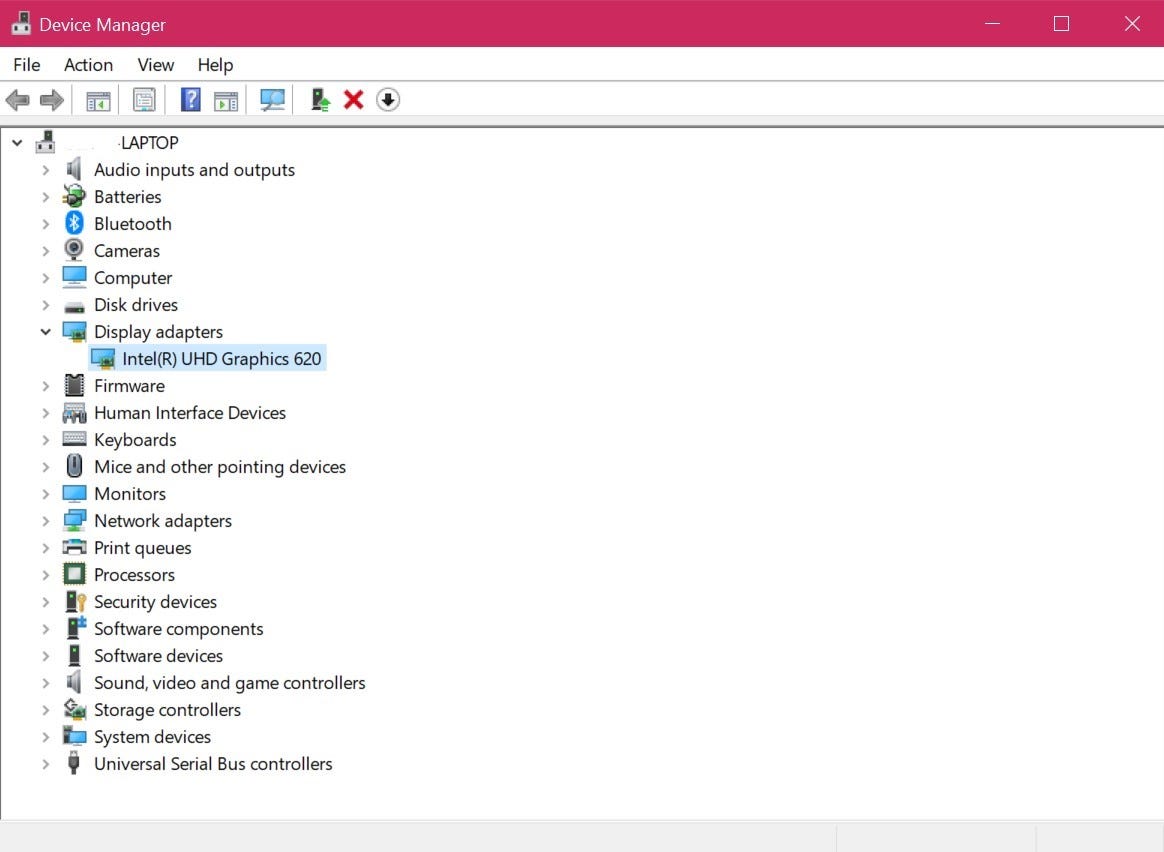 Device Manager
Now simply go to display adapters and check if you have a dedicated GPU.
In the above picture, there is no dedicated GPU. Hence if I install TensorFlow on this PC then the CPU version of TensorFlow would be running on my Jupyter Notebook.
After surfing different sites I figured out this way ( and I believe that this is the easiest way without much coding required).
With this, we come to an end to my installation journey:)