

It was a few months back when I had picked up the basics of web development by learning HTML, CSS & Javascript and got acquainted with libraries like Bootstrap 4.0 and JQuery.
Now the next step was to move to the backend side of the web development. Since I had already learned javascript, I considered learning Nodejs with Express. In the initial phase of my learning, things flew above my head especially the get & post requests part. But for a comeback, I made a very simple calculator as my project. And it was a great learning experience this way. A quick guide to my simple project :
- Start by creating two files by the name, say: calculator.html & server.js in the directory.
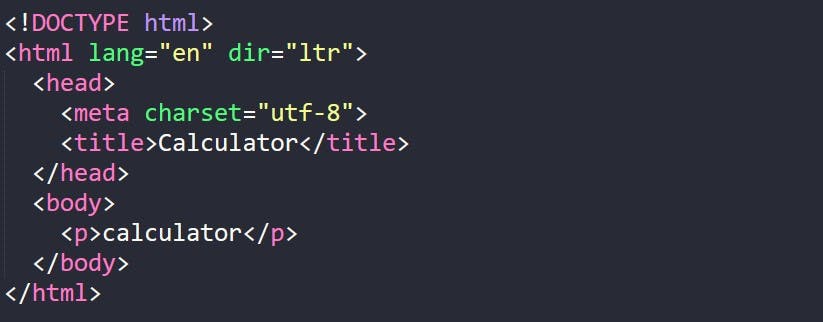
- Now first we will code the basic structure of our html file using the HTML boilerplate as shown.
- Add tags of type=text & a tag inside a form tag in the of the html file as shown.
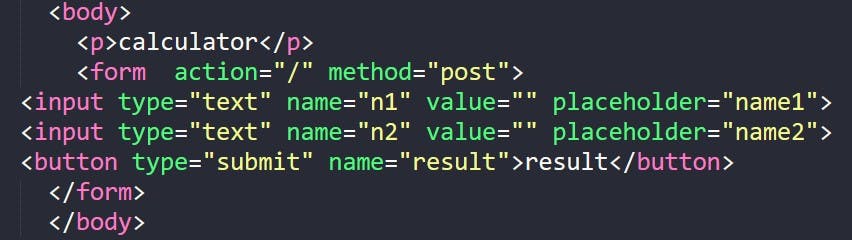
You may notice the two attributes in the form tag i.e 'action' & 'method', these would be explained in the upcoming points.
With this, the HTML part is done & now we would switch to our server.js file.
It is important to know what exactly is a server? In simple words, when you (would be called as a client) search any query in your web browser your query swims through the internet and reaches the doorstep of the server making a request (In other words your browser makes a get request to a server) to which the server responds with desired results which reach back to you via your browser swimming again :). Servers are located in data centers around the world.
- Before moving to js file you must ensure that you have initialized node package manager aka npm and have Node.js installed in PC. Follow the below snippets in your terminal to initialize npm:
cd <your current directory>
npm init
npm install express body-parser
Now you are good to go!
Coming back to our js file, we must now import our packages namely express & body-parser that we have installed via npm. .

Now we would create a local server on our PC as shown.

After saving the js file, you must input the following in the terminal :
node server.js
This would start running the server on port 3000. You would see a note popping up in your terminal stating port created. In simple words, you have created a server that has an address of localhost:3000. Your browser would make a request on this port locally and then your local server would be made to respond to the query.
- Now open your browser & type localhost:3000 in your search. You may get a notice from browser as Cannot GET /, this is because when a request is made by the browser the server does not have any file to render.
- Note: You may have to restart your server (i.e quit the server using ctrl+c command and running the server.js file via node again) every time you make any changes in your server.js code. To avoid that hassle you may install nodemon package by :
npm install -g nodemon
To run nodemon instead of node:
nodemon server.js
- Now to render your HTML file, in server.js we would include :

The "/" symbol represents your home route. Recollect that in our HTML file we had put our action attribute in form tag equal to "/".You may have different routes like "/about" or "/contact". Suppose you create a "/about" route then to access the route you may have to search: localhost:3000/about
Hence when you search, your browser makes a get request to your server at localhost & then your server renders the HTML file. Hence now you may be able to correlate why we were getting a Cannot GET / error.
Now, when you give input and press the submit button you would get the Cannot POST/ error. This is because our have not set up the post response in our server.js.
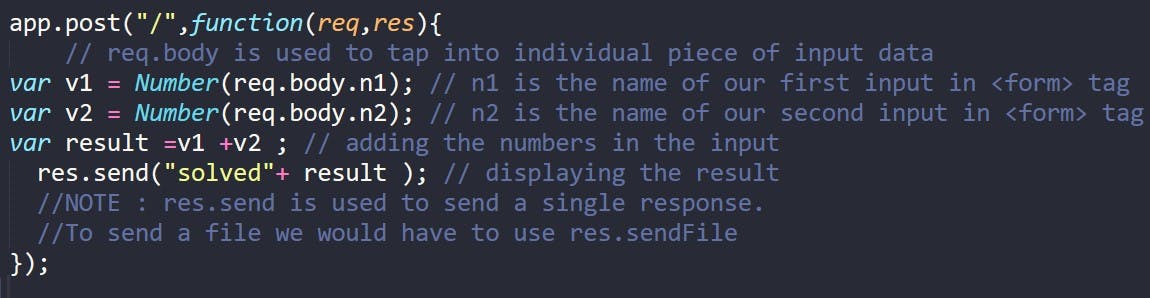
We must tap into the individual pieces of data or in our HTML we use the body-parser.

- Now we must write the logic of our code by using the individual pieces of data inside our tag. We would write the logic of a simple addition between two numbers. Then we would post the result on our home route as that is the route where we give our input in the current scenario.
With this, we have successfully created a basic backend server that can perform get/post requests.
In simple words, GET is used to fetch information, and POST is used to push information.
I hope this simple article on get/post request has been a good read!